 My Account Overview
![]()
General System features
The new My Account presents a modern look & feel with multiple new features such as:
-
Customization to fit the company branding.
-
Internationalization: The site language is set by default to match the browser setting. Initially, only English and Spanish are available, with the possibility of adding more languages in the future.
-
Responsive design for an optimal mobile and desktop experience.
-
User Interface detached from Back-End code for faster development and performance.
Because the new site has its UI separated from the back-end logic, to deploy it, it is required to configure two URLs / sites:
-
New MyAccount: https://myaccount.com
-
New API: https://api.com/docs/index
Login & Authentication
The customer can access the site using the URL indicated above and use their username and password. In this new site, these credentials are encrypted using the JWT standard.
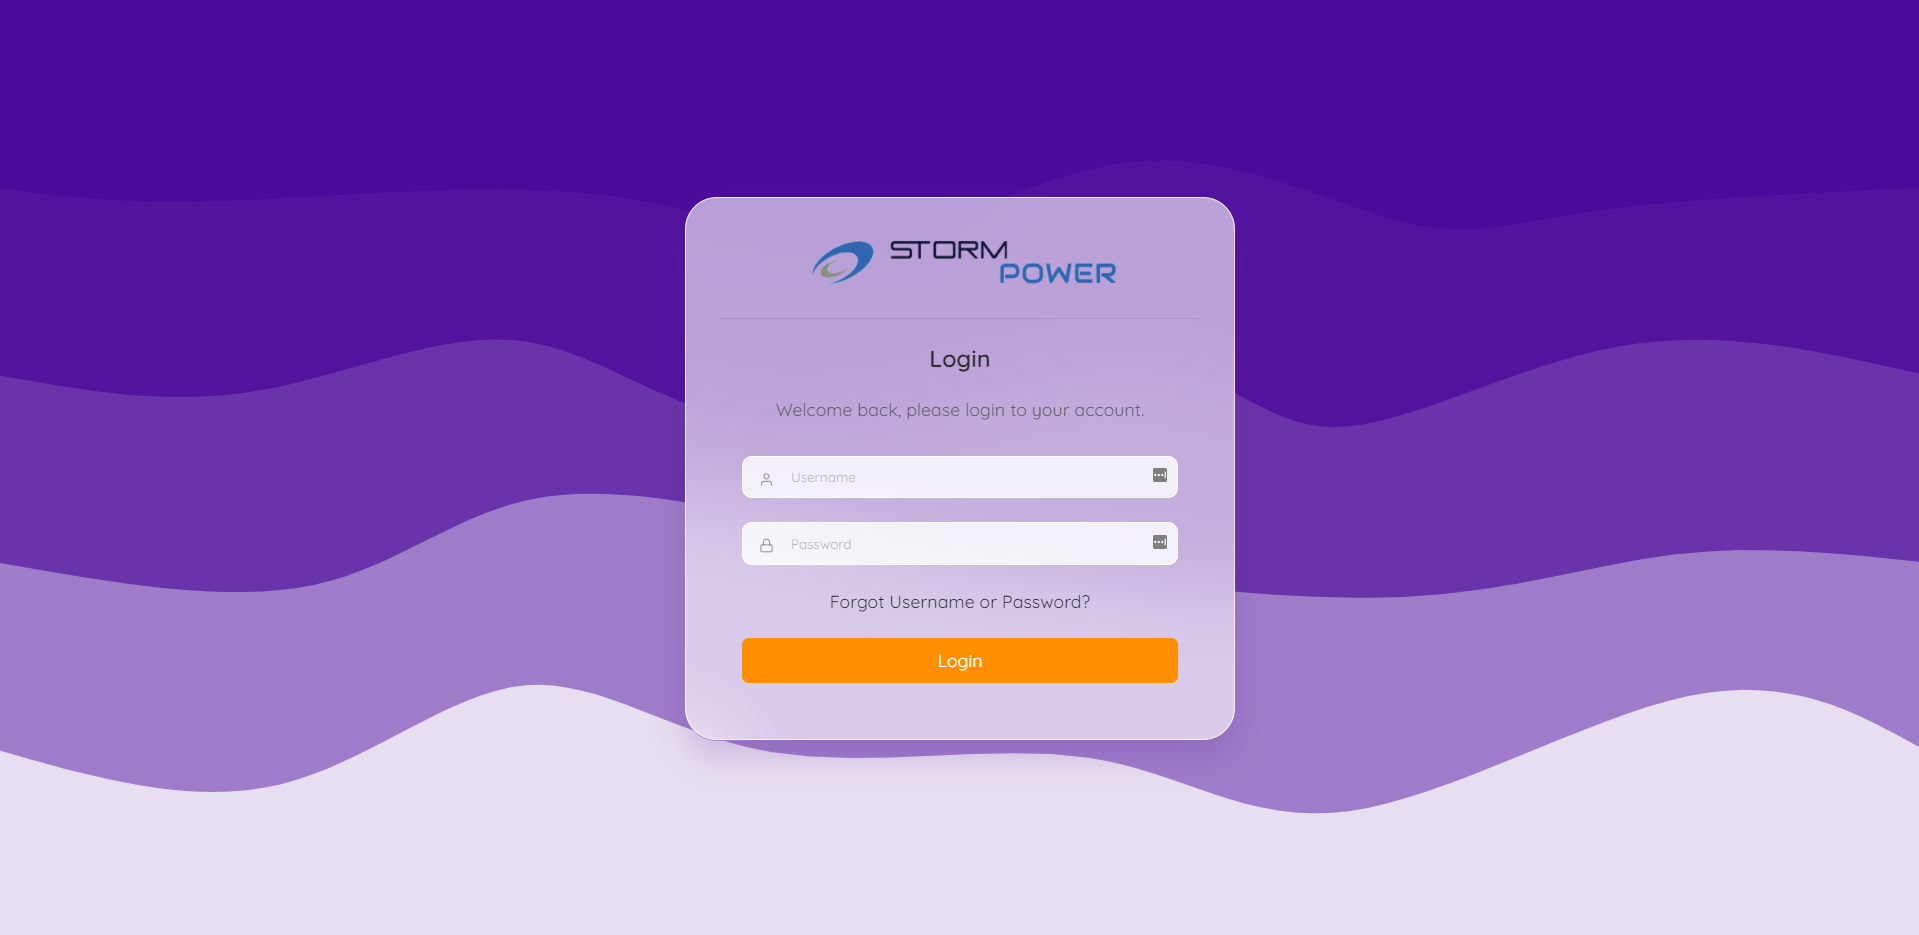
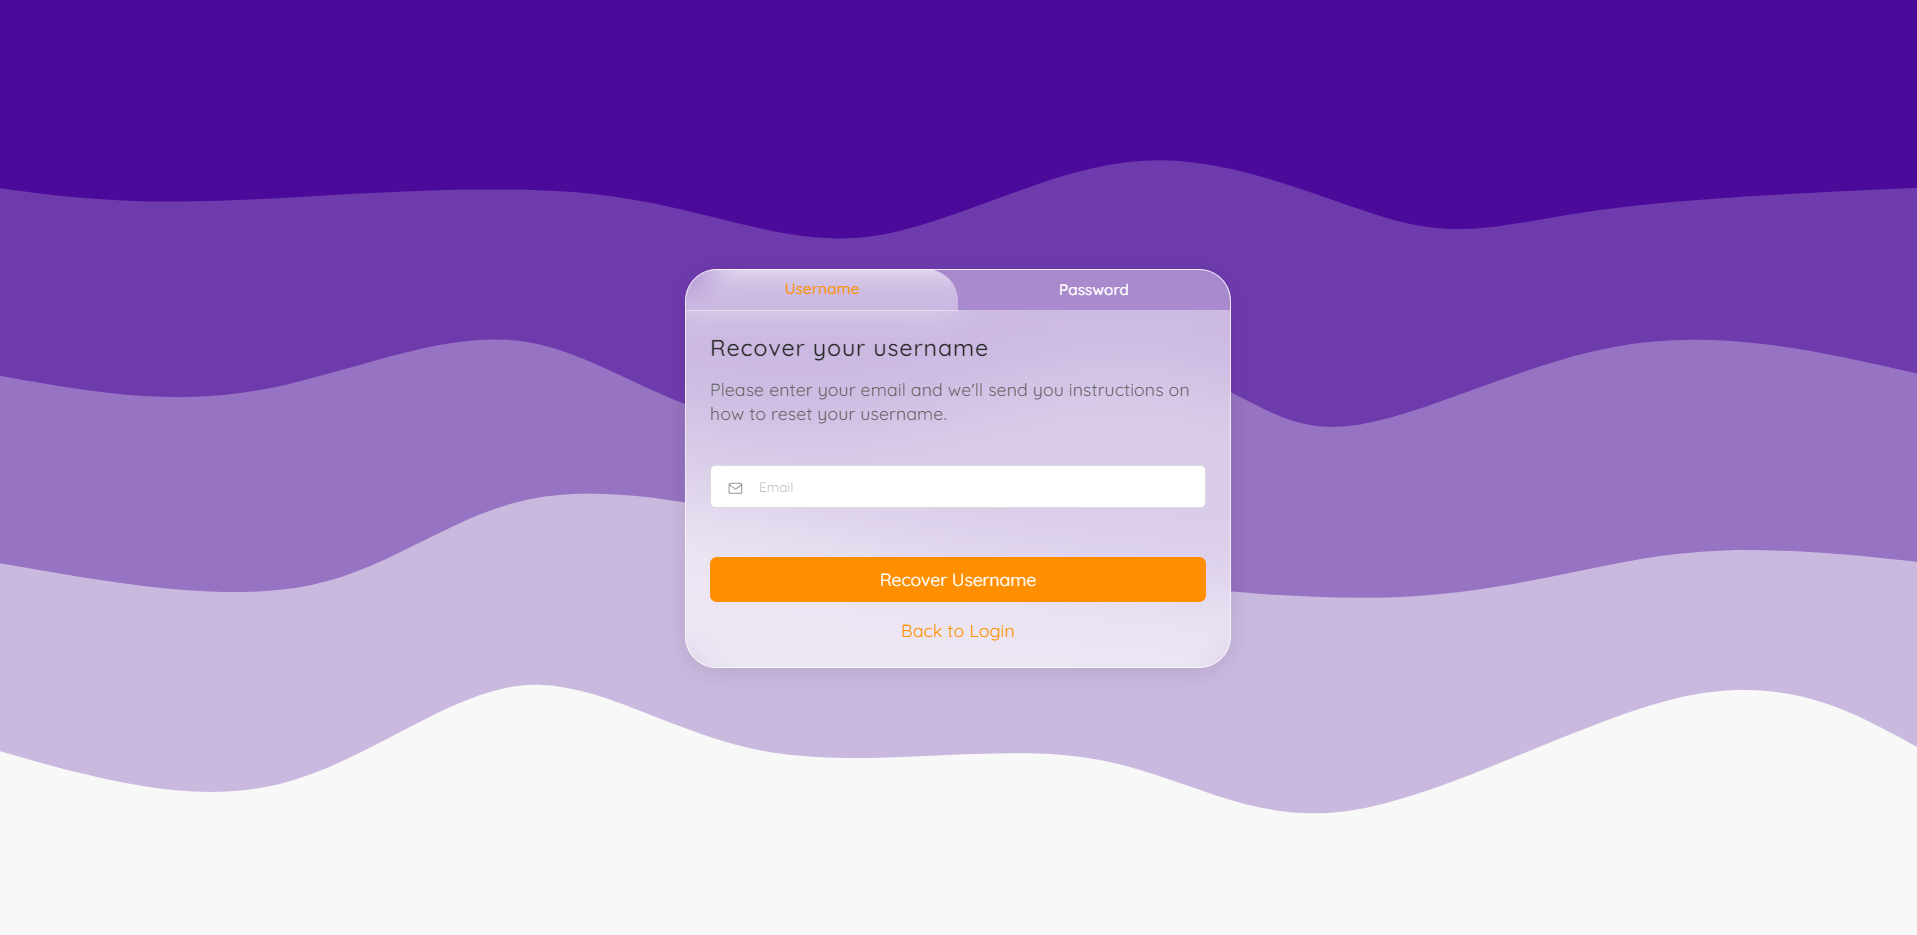
From this screen, the customer can access the options to recover their username and password:
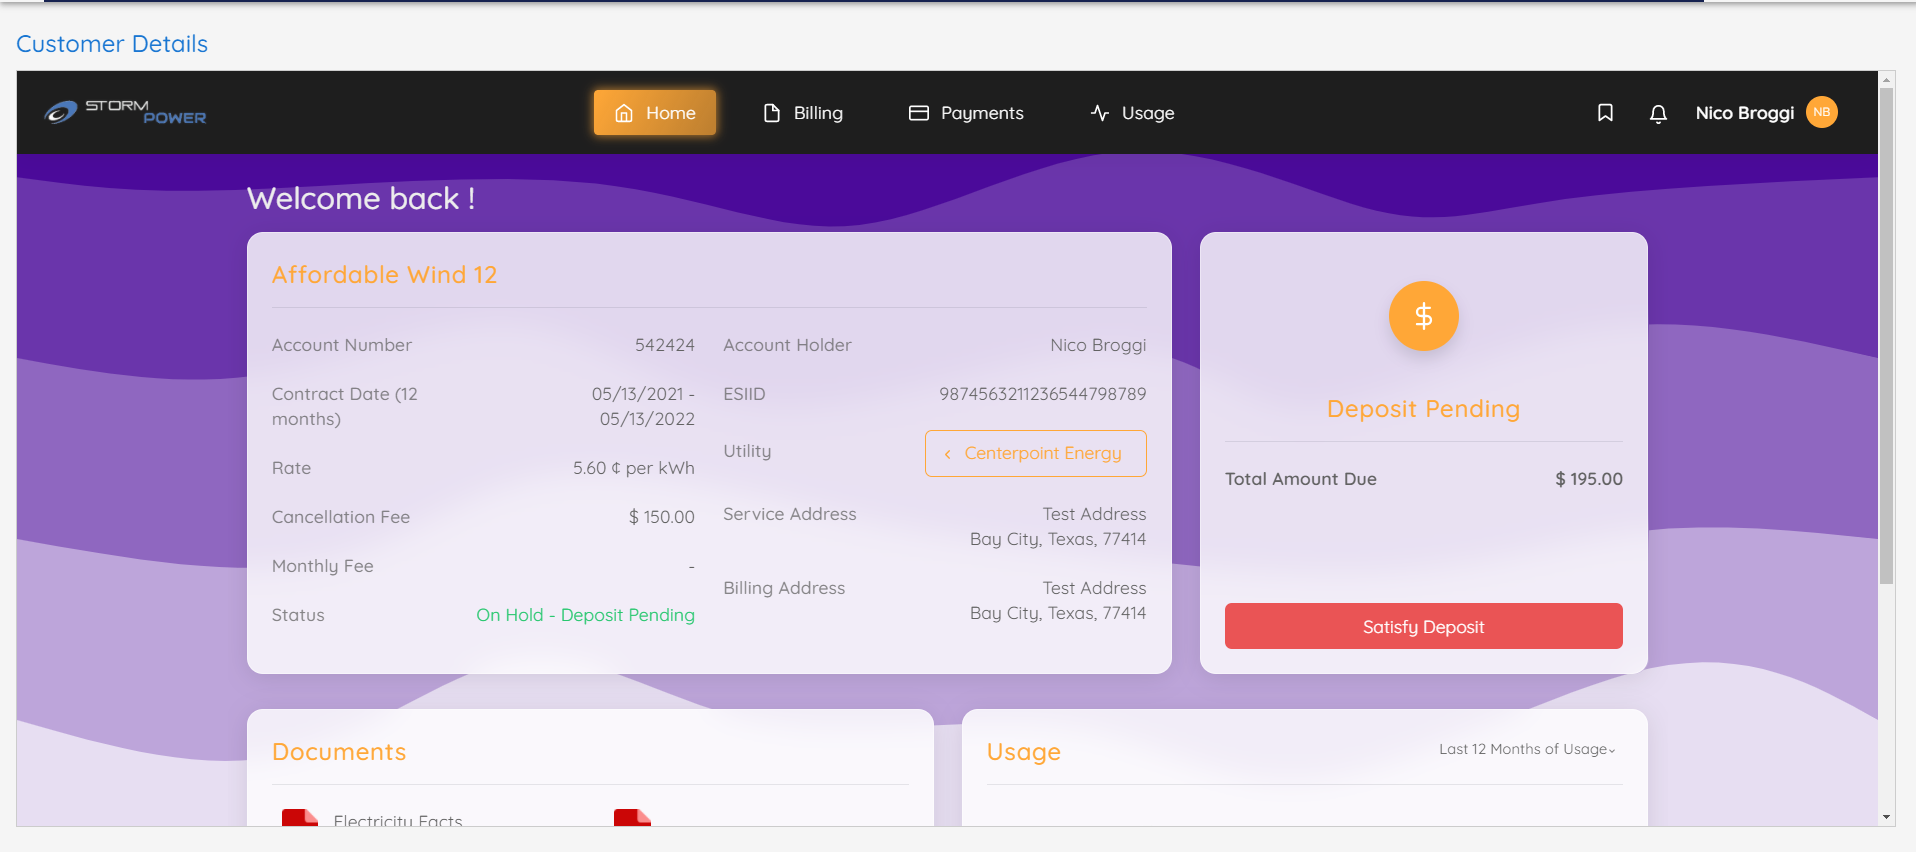
On the other hand, an agent can automatically login as any customer from the OpsAdmin - Customer Support page.
System Screens
Dashboard
The dashboard is the initial view for the customer after they log in. Here they can visualize the main details about their enrollments and also trigger determined actions. This dashboard shows the information of one enrollment at a time, allowing the customer to select different enrollments if required. Some of the features are:
-
Enrollment Information.
-
Quick access to the enrollment documentation.
-
Energy usage overview.
-
Billing information, including last payment received, past due, current charges and more.
-
Options to Renew, Re-Enroll, Reinstate, Move Out, or make a Transfer of Service when possible.
-
Make payments.
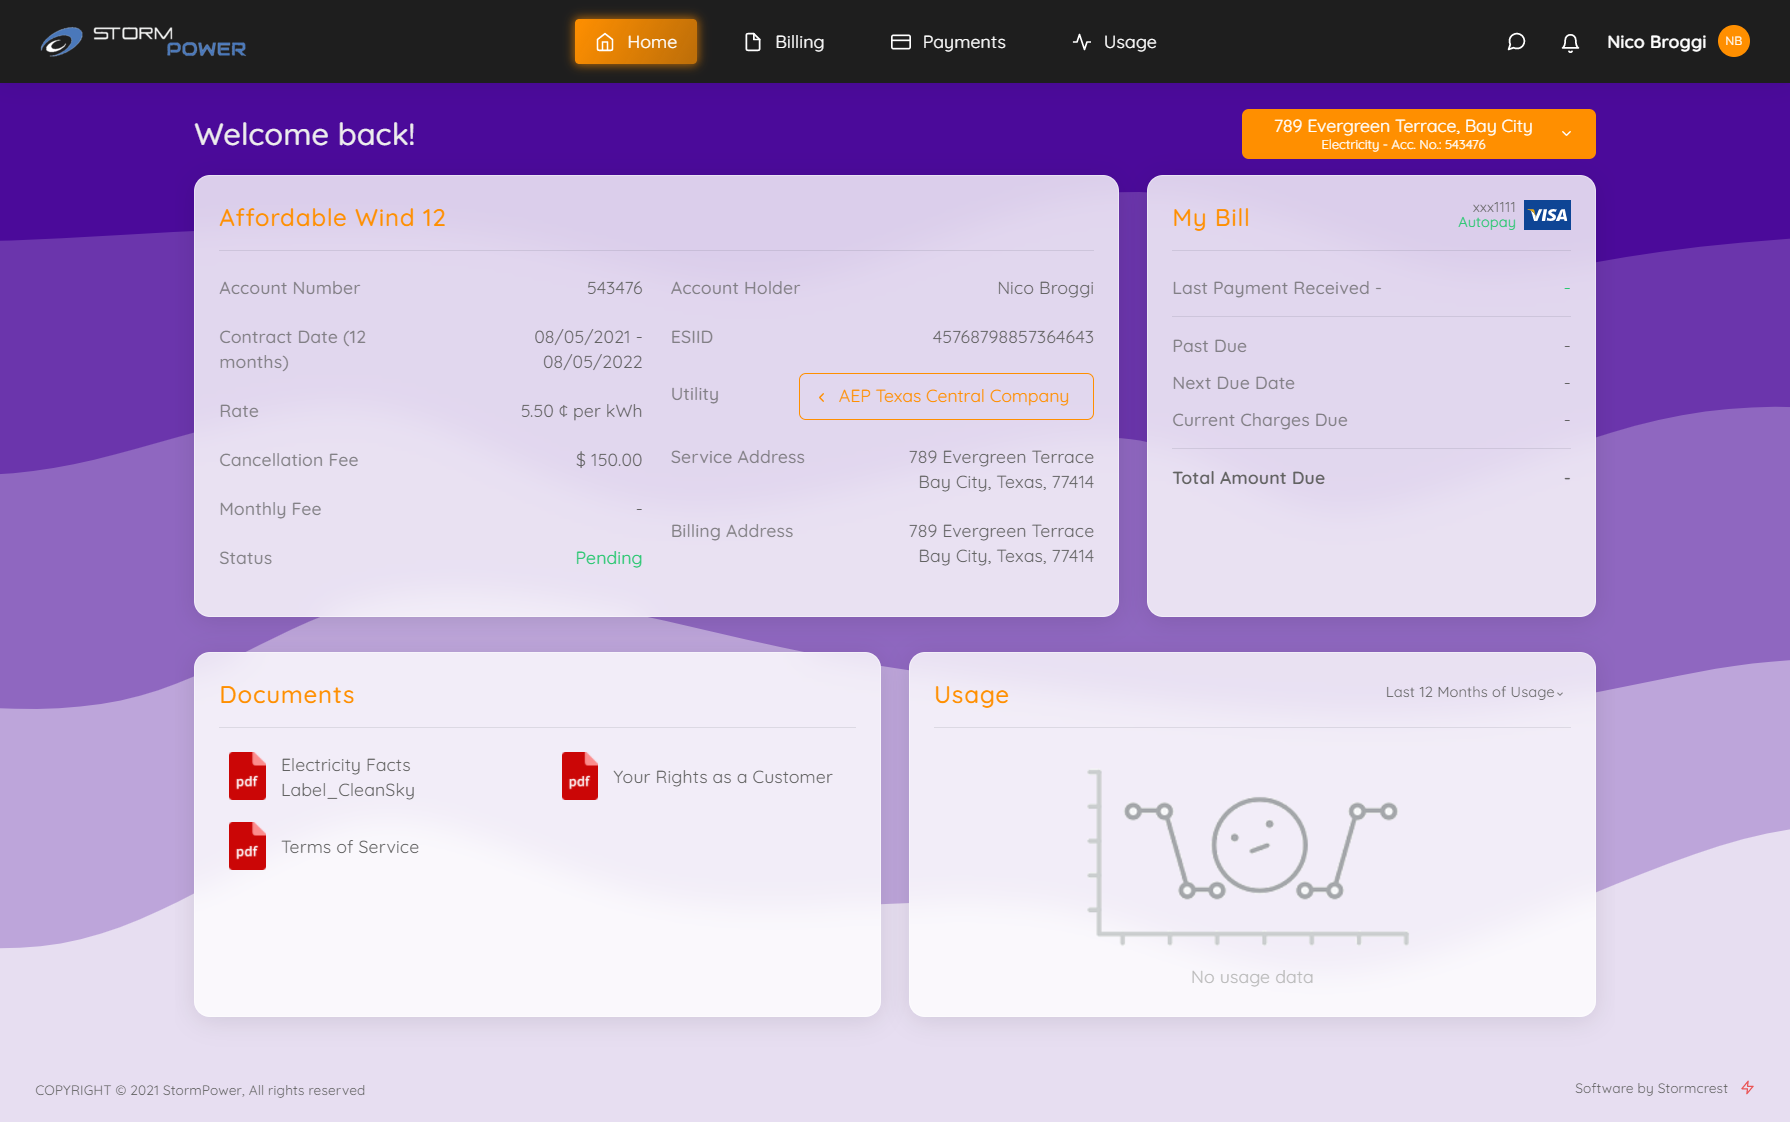
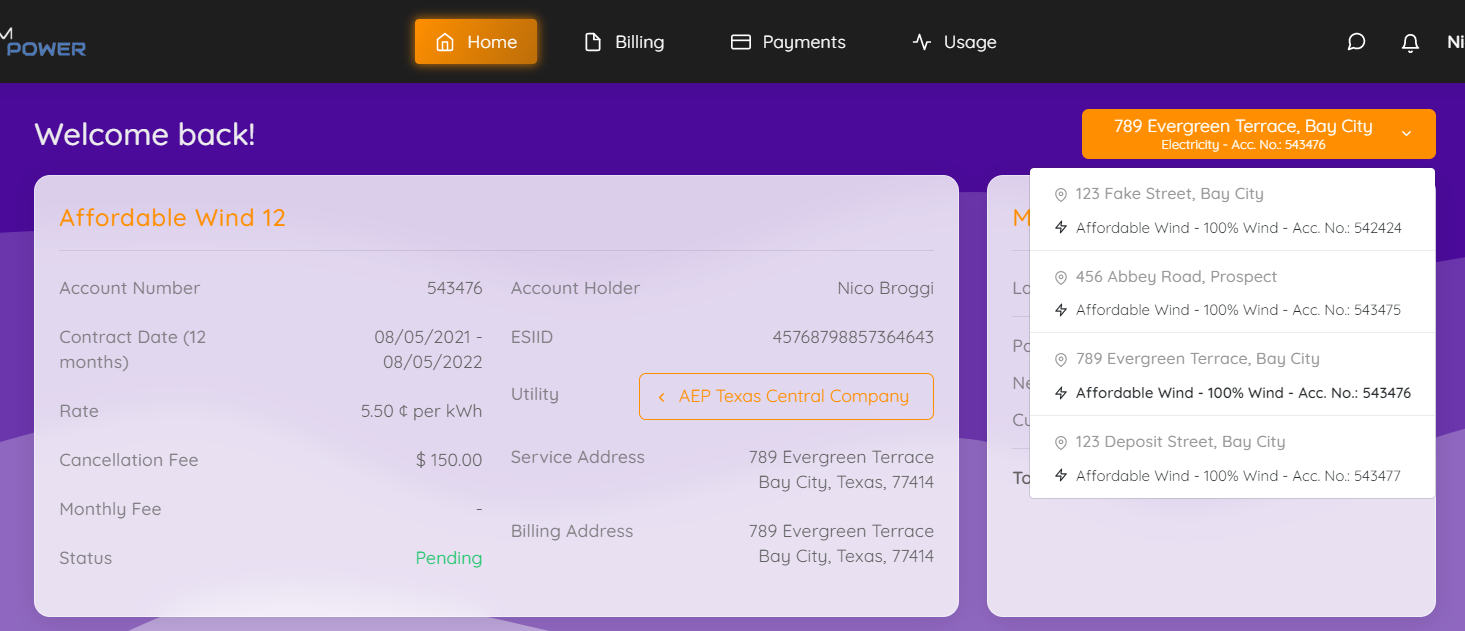
If the customer has multiple enrollments, a selector will be presented in the top right corner of the dashboard. This menu will list the enrollments grouped by address (for the case an address has electricity and gas):
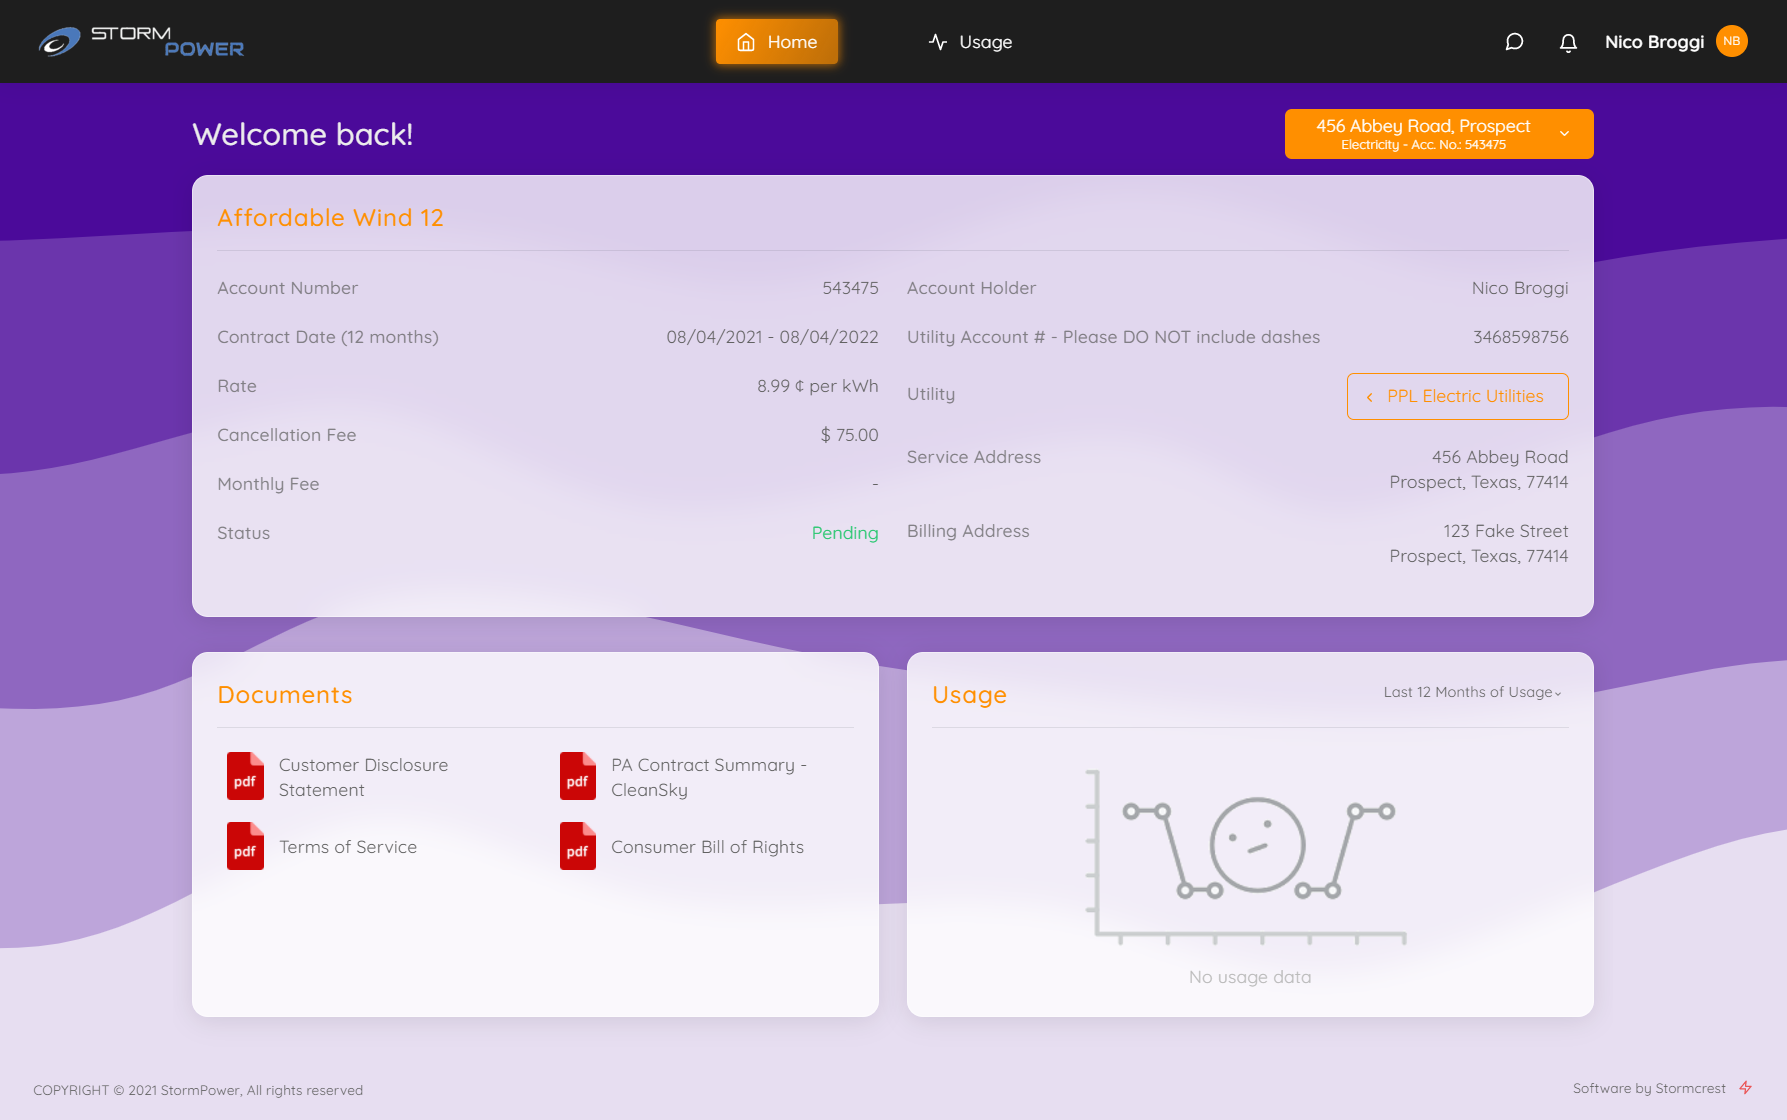
If the selected enrollment belongs to a market that doesn’t handle payments, the My Account will hide the unnecessary options and screens:
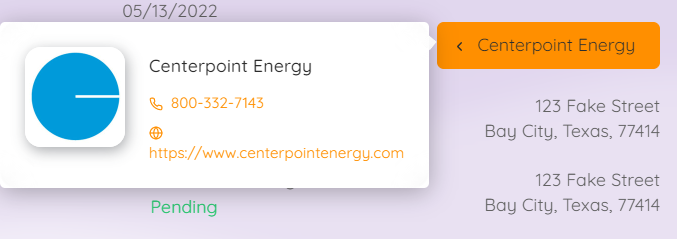
By clicking the Utility Name button, a pop up will appear showing some basic contact information:
At the top of the screen is located the main navigation bar, which has the links to all the other screens of the system. In the middle are the main system screens; Billing and Payments are available only for markets where payments are handled by the retail company.

The contact options, notifications and profile menu are located to the left:

Billing History
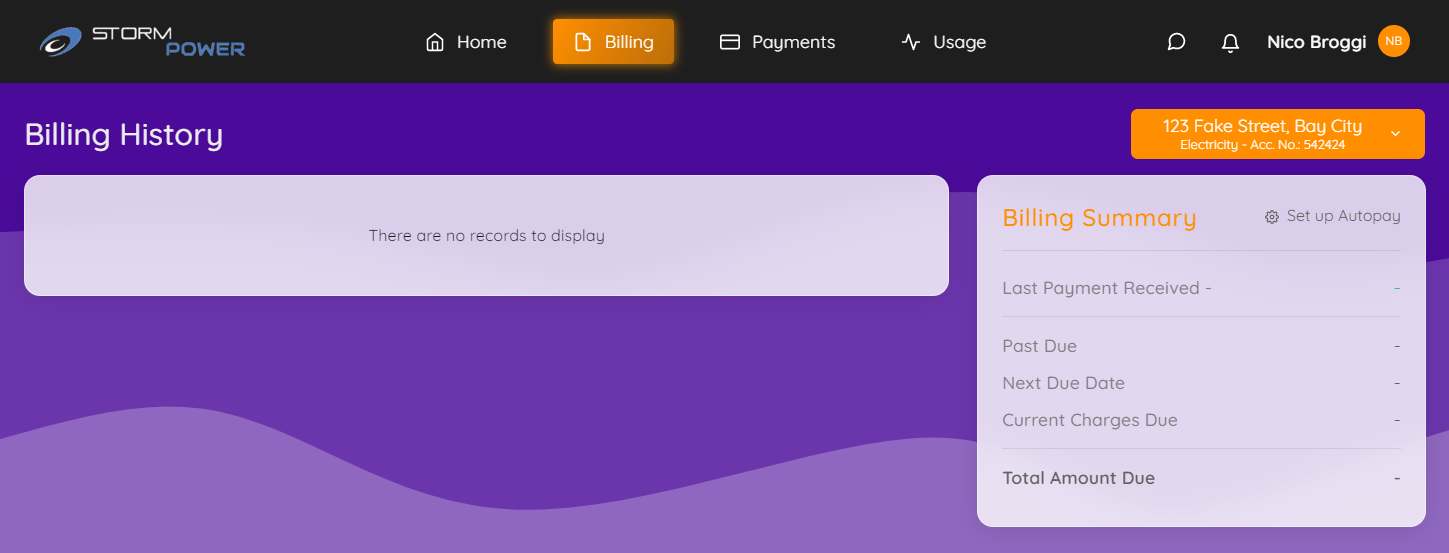
This screen lists all the bills of the selected enrollment, with an option to download each one in PDF format. All the billing information is obtained directly from the Billing System and is not generated, processed or stored by OpsAdmin. Like the dashboard, this screen presents the billing summary card to make payments.
Payment History
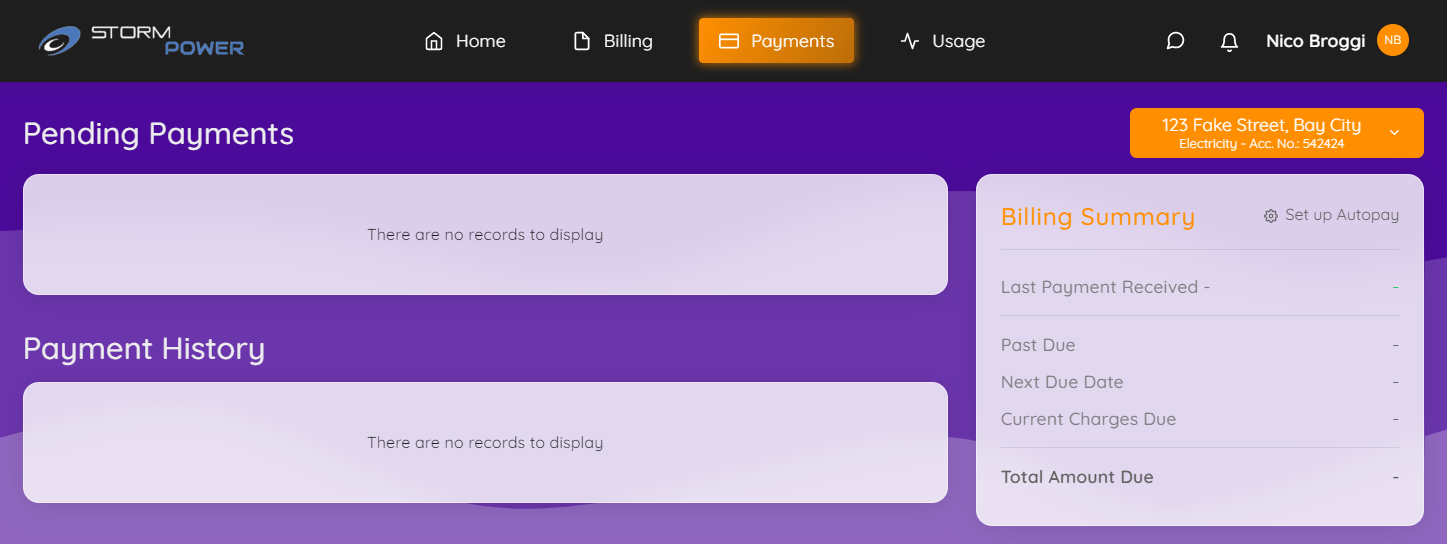
This screen lists all the payments made by the customer. These payments can be the initial deposit, one time payments manually made by the customer or the autopay generated by the billing system. All the payment information is obtained directly from the Billing System and is not generated, processed or stored by OpsAdmin. Like the dashboard and billing history screens, this screen presents the billing summary card to make payments.
Usage Details
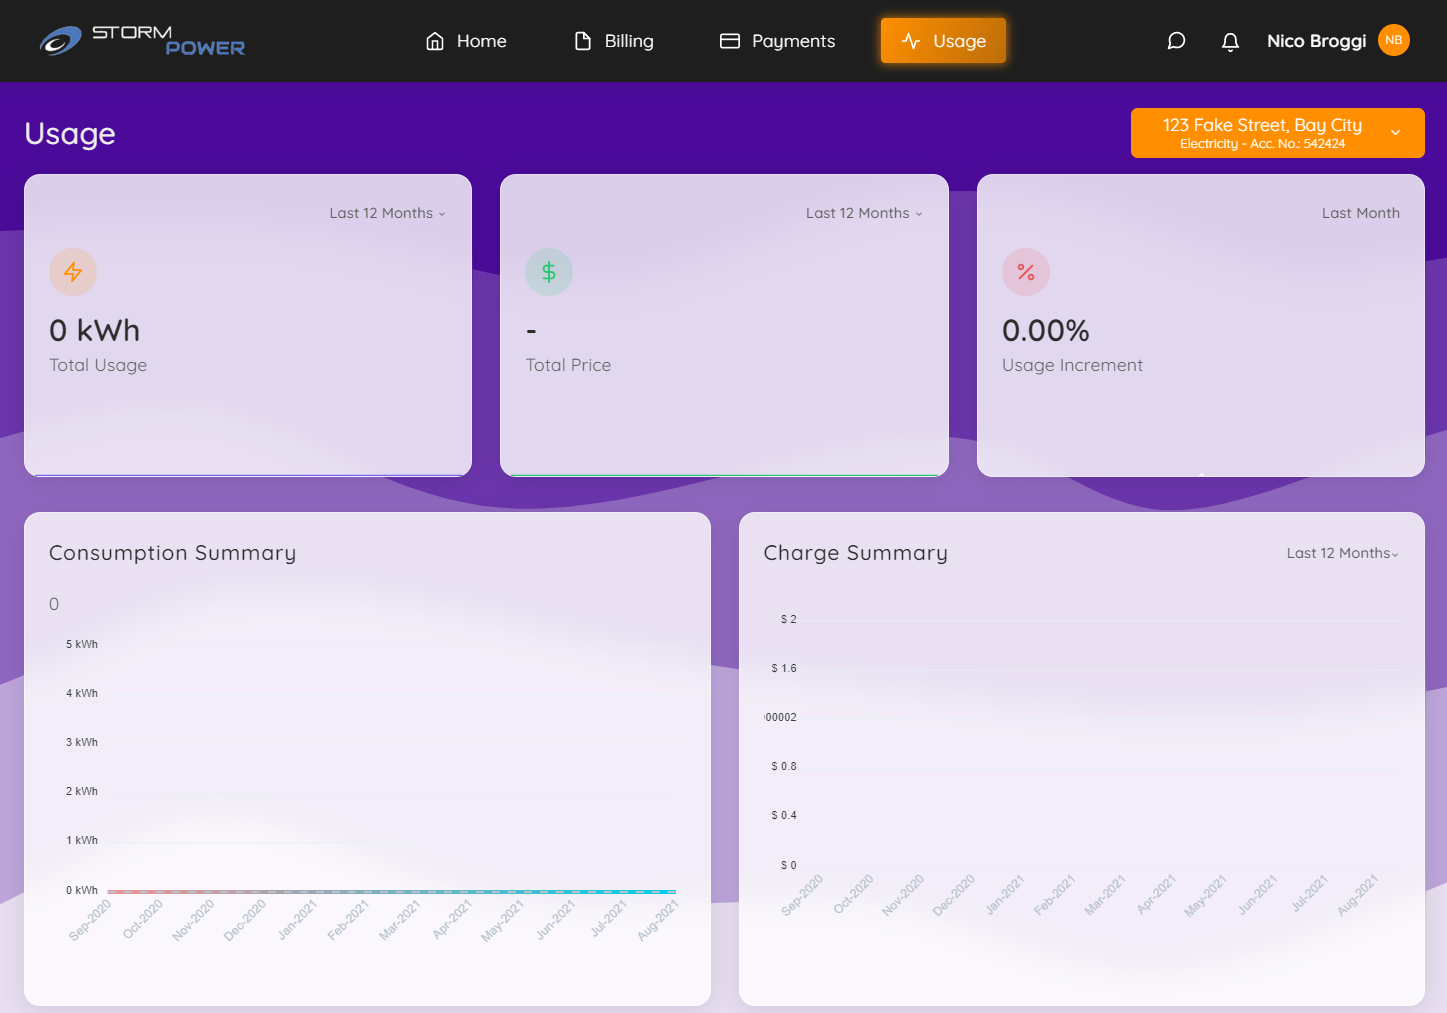
This screen provides detailed information about the enrollment usage history. All the usage data is obtained directly from the Billing System and is not generated, processed or stored by OpsAdmin.
Notification Center
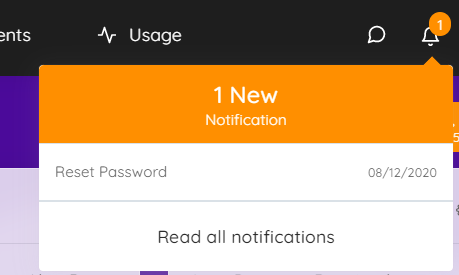
The notifications icon will show a badge indicating the number of unread messages. By clicking the icon, a dropdown will show the list of unread messages:
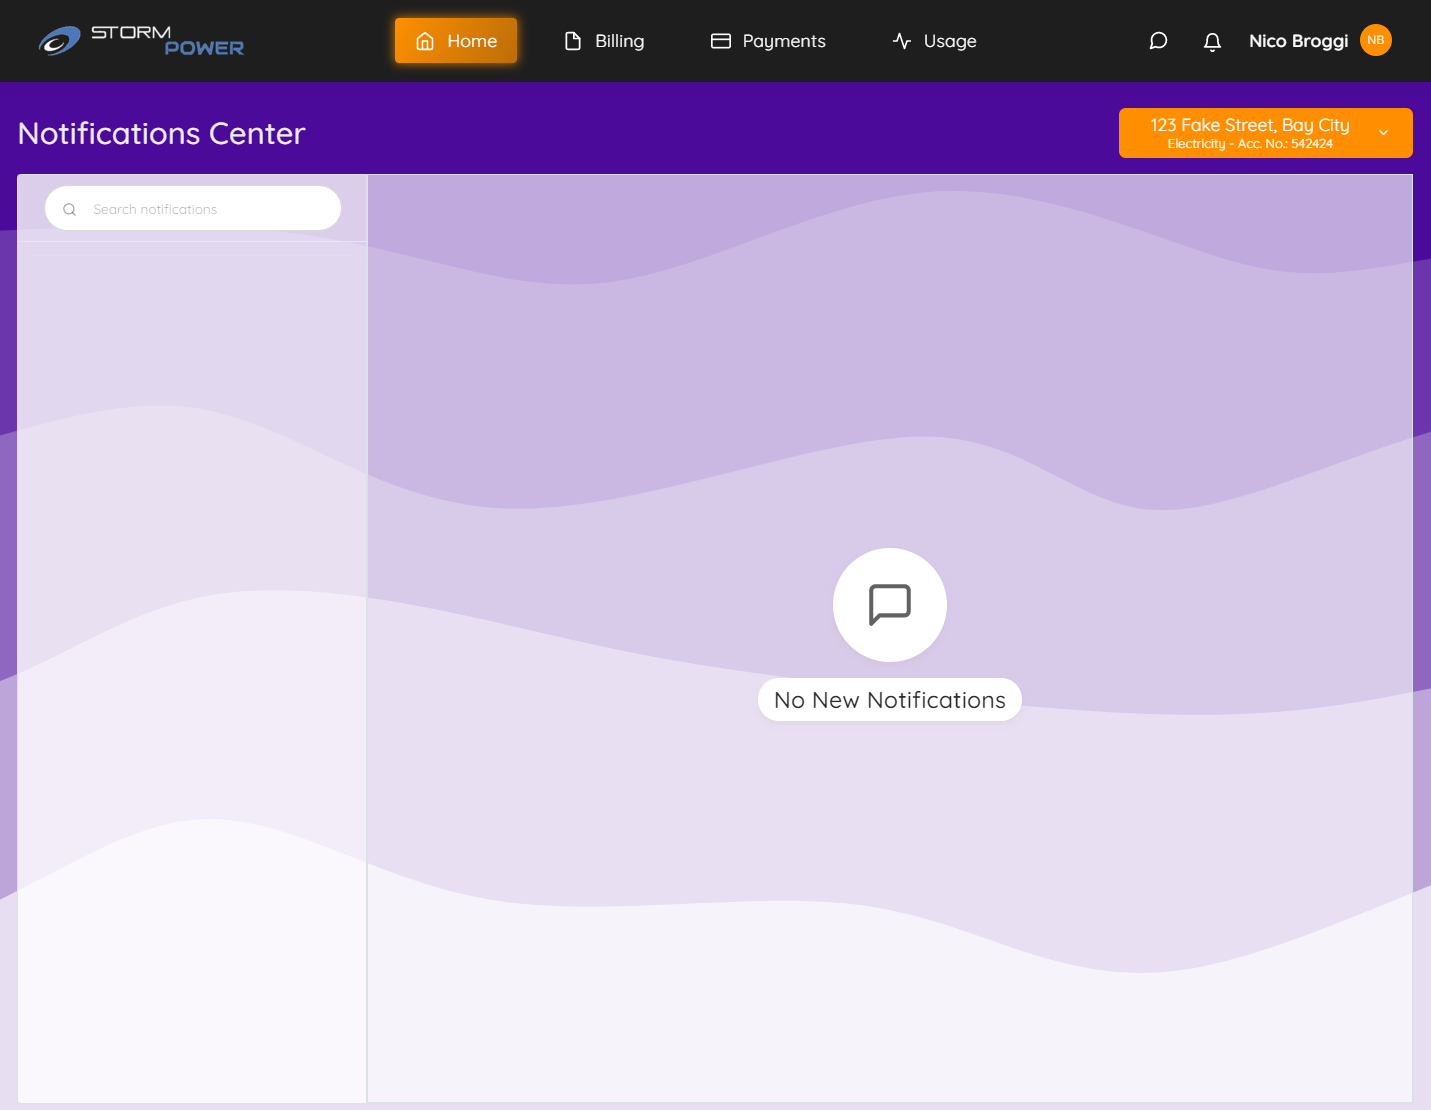
Clicking one of them, or the Read All Notifications button, will take the user to the Notification Center:
Customer Profile Settings
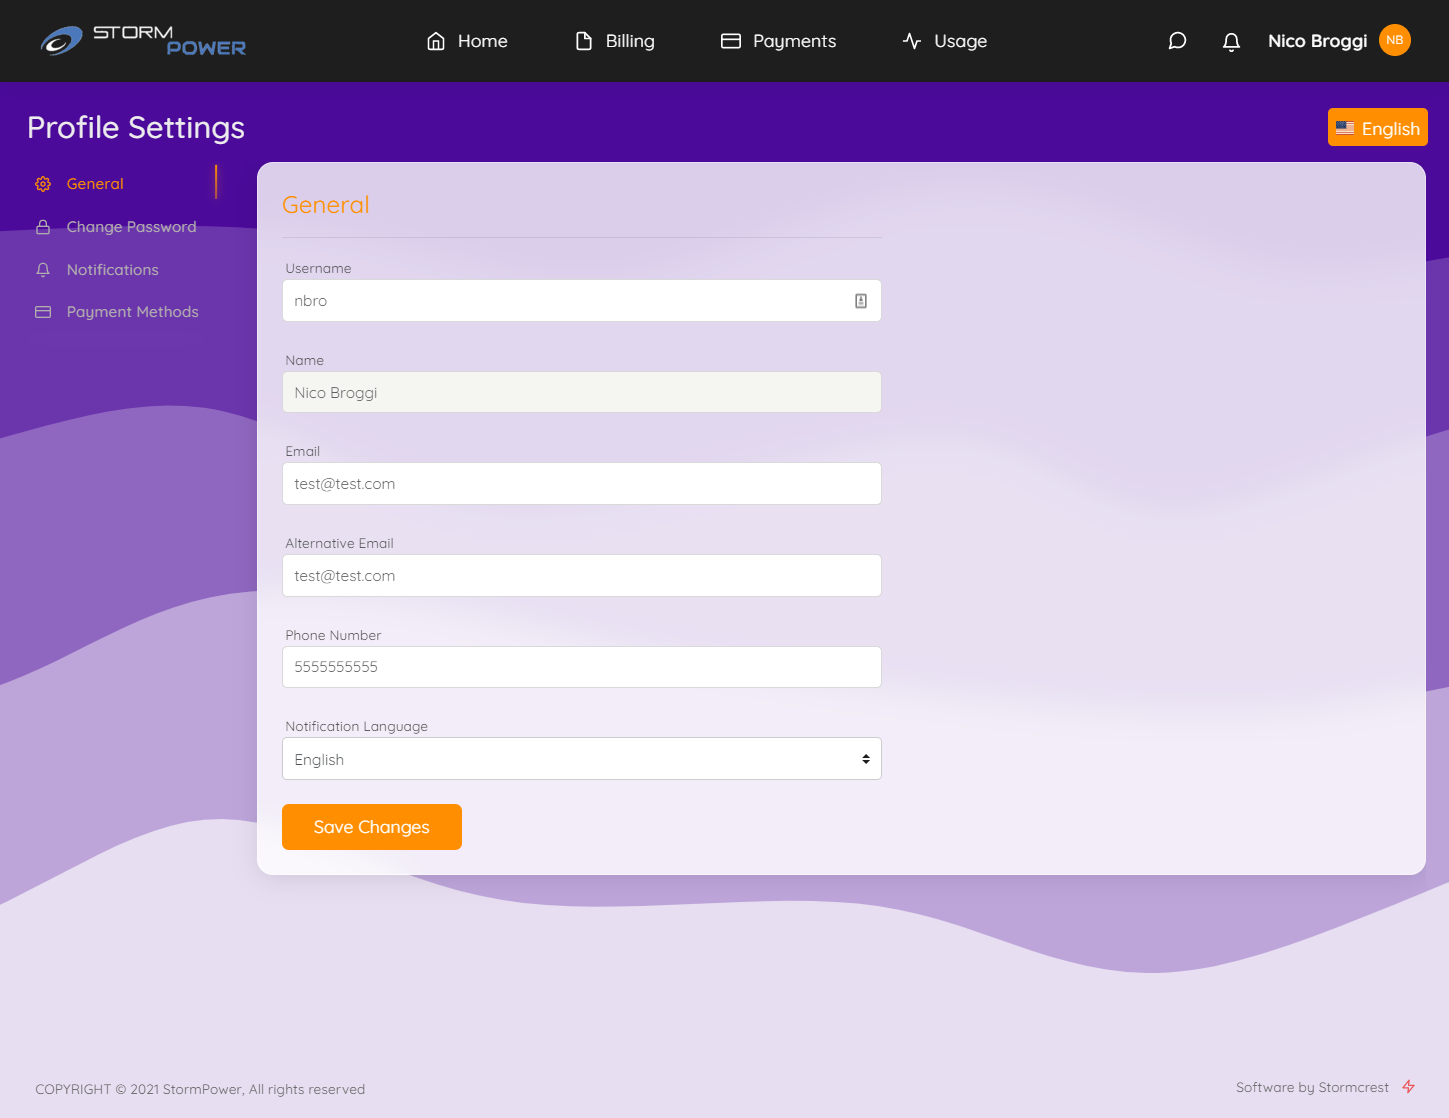
Here the customer can update their personal data and customize certain aspects of their account:
-
General (Email, Phone Number, Username, Prefered language for documents)
-
Password Settings
-
Notification Settings
-
Payment Methods
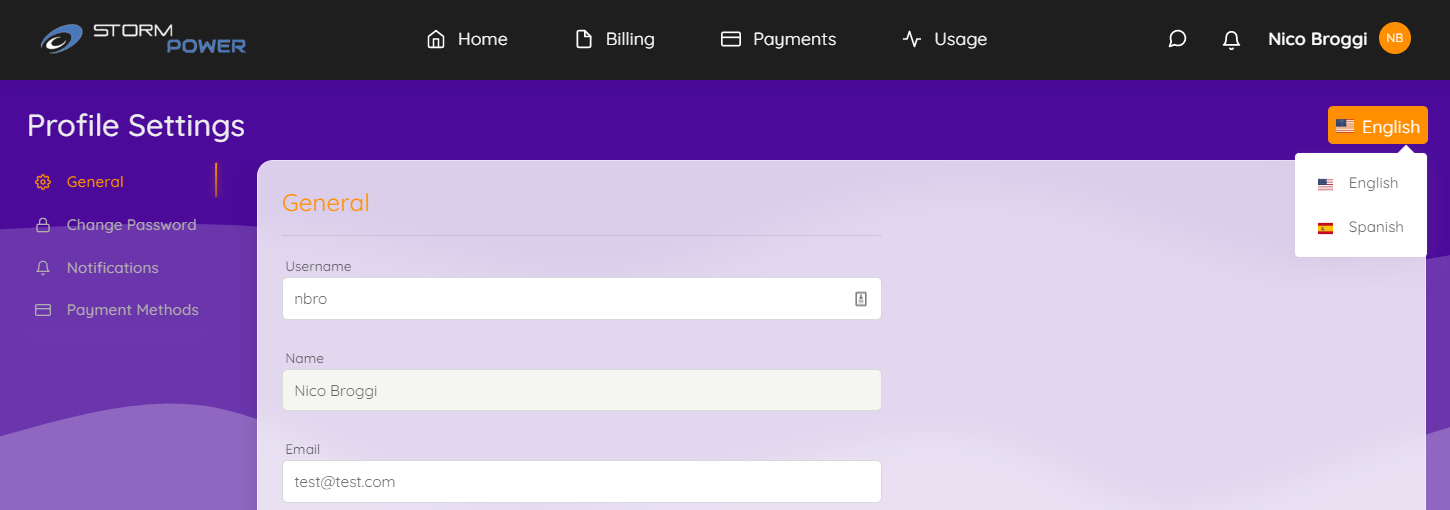
The language dropdown on the top right corner allows the customer to override the site language. This change happens in real time:
Payments
OpsAdmin can manage payments using two different vendors: Authorize.NET and iCheck Gateway. No matter which provider is chosen, all the processes explained below work the same for both of them, unless indicated otherwise.
Only one of the providers can be configured at the time. In this case all the examples will be made with the provider iCheck Gateway.
Depending on the system configuration and options selected by the customer during the enrollment process, the status related to payments can be varied, from the enrollment being sent directly to the billing system because all the conditions were met during the enrollment process, to needing to pay a deposit and configure autopay to finish the process from within My Account.
While not all possible combinations will be shown in this document, all the possible actions will be listed, by using an enrollment that has to pay a deposit and can opt for autopay (recurring billing).
NOTE: Currently, payments are only available if the selected billing system is ESG. It won’t work for ECI.
NOTE: Currently, only credit cards can be used in the system.
Satisfy Deposit
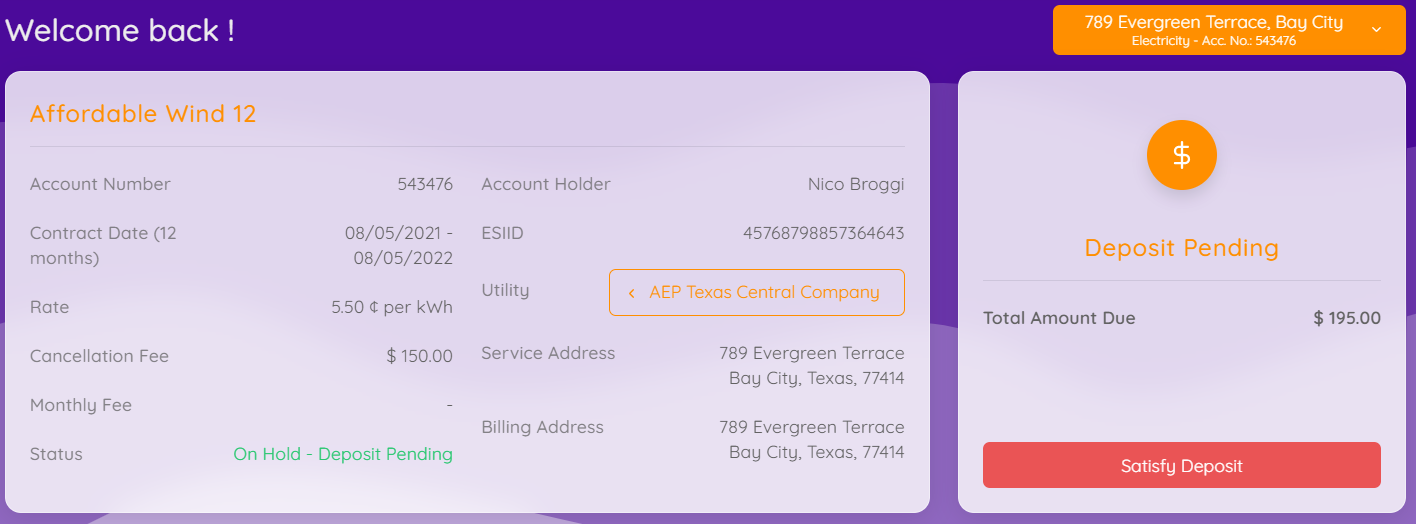
If the customer finished the enrollment process in the wizard without paying the deposit this is what will be presented when entering the site:
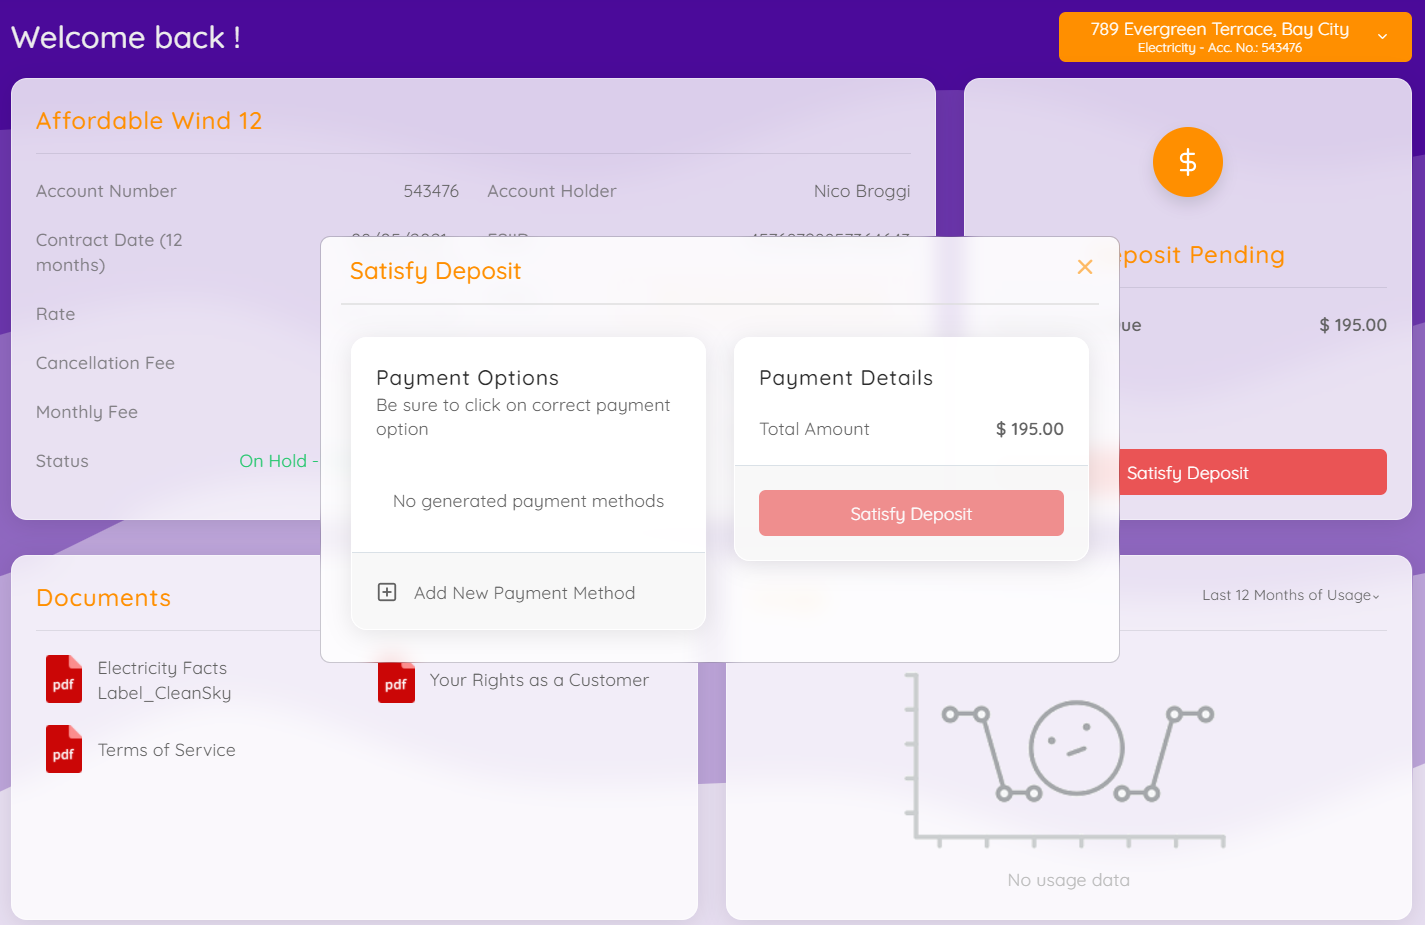
By clicking the Satisfy Deposit button, the following popup will appear. If the customer had credit cards stored on the system, they will show up here, but in this case, it’s empty so the Add New Payment Method must be selected:
After selecting the Add option, a form will show up to input the credit card information:
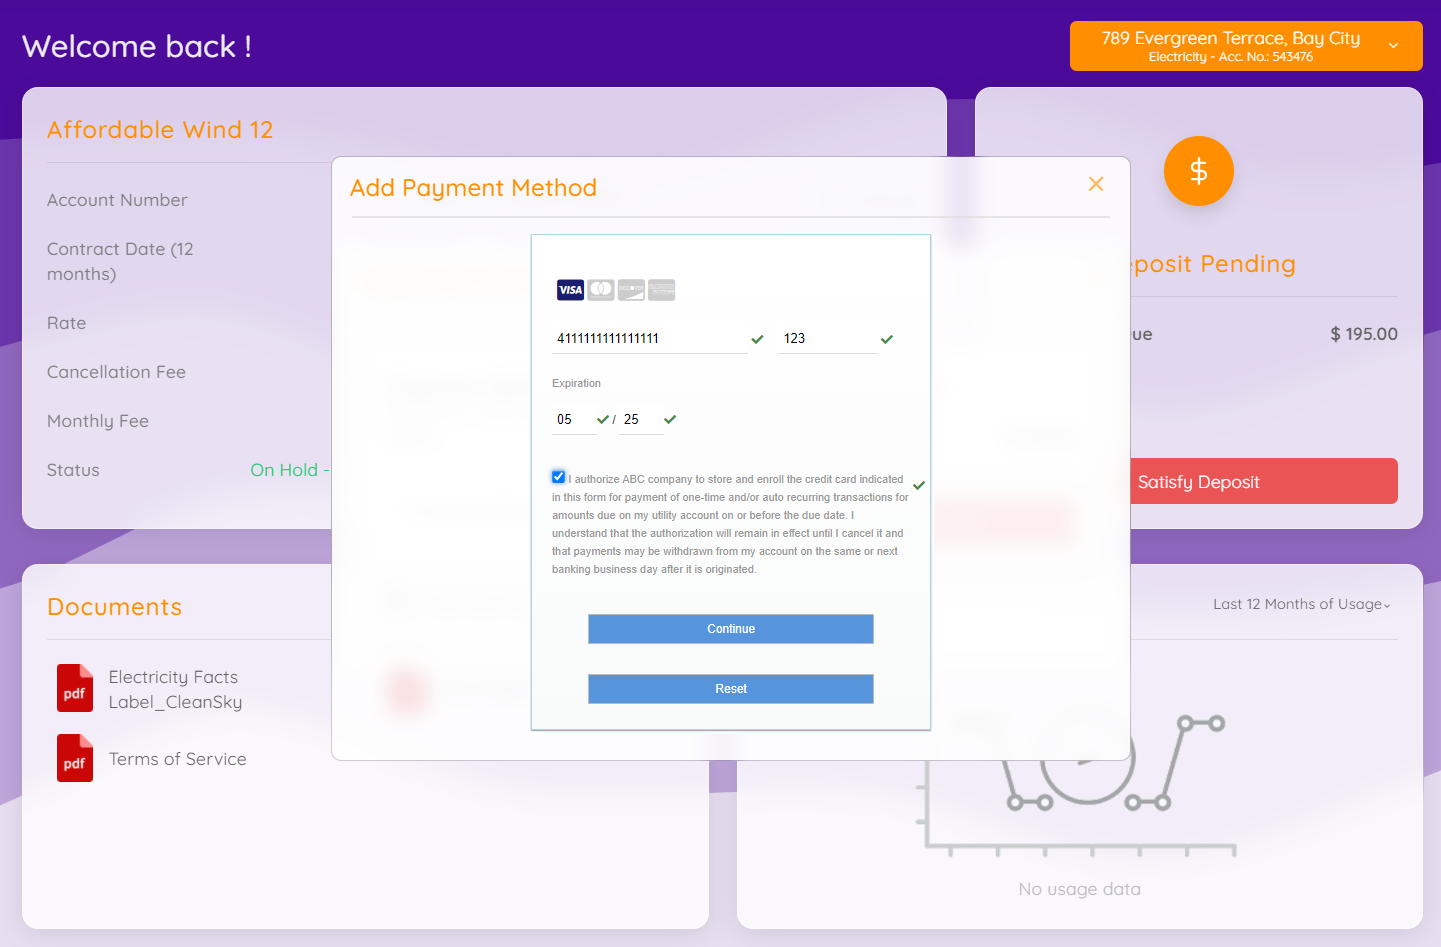
Note: Here is the main difference between using iCheck and Authorize.Net. The form where the credit card information is written is controlled by the payments provider and will vary depending on which is active. In the case of iCheck, it is required to check the authorization text which is not controlled by OpsAdmin and must be configured in the iCheck site.
After adding the card, it will show up and must be selected to finally end the process by clicking the Satisfy Deposit button:
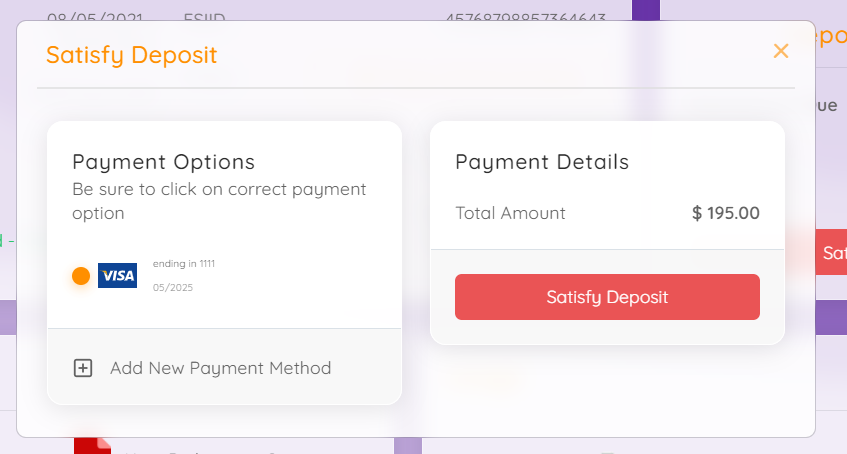
NOTE: Even though the credit cards will usually be added during the enrollment process or at the moment of paying, the stored credit cards are tied to the customer and not the enrollment, meaning that, if for example, a customer added a credit card when enrolling a Houston address, that credit card will be presented as an option to pay for a new enrollment in Dallas.
Configure Recurring Billing
After paying the deposit there are two possible outcomes: either the enrollment is sent to the billing system when autopay is optional (image below), or the enrollment remains on hold until autopay is setup if it is mandatory.
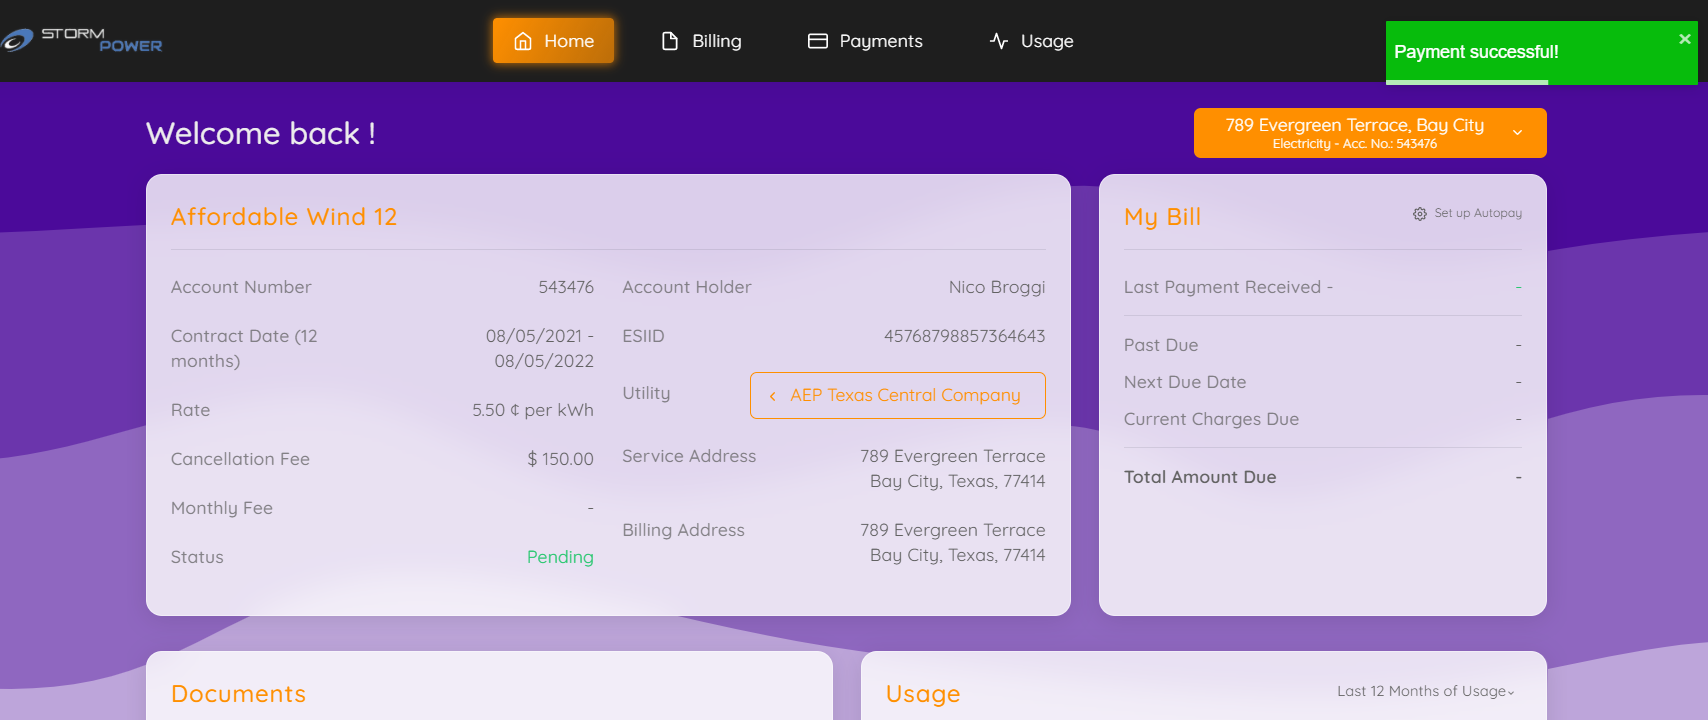
To configure autopay, the customer must click the indicated icon, select the payment method, check the authorization and save the changes:
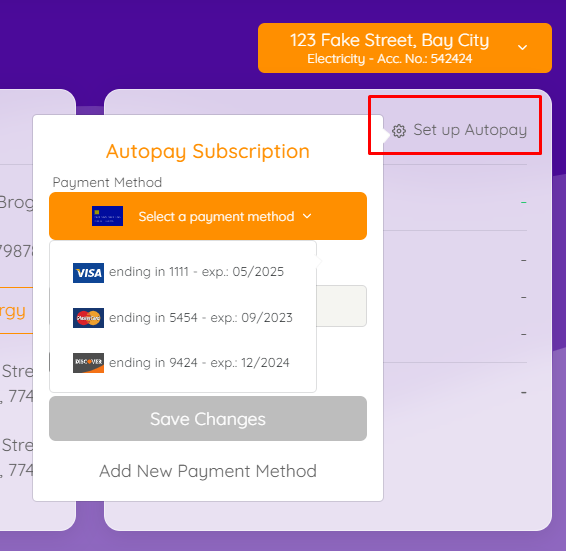
By doing this the information will be sent to the billing system (and the enrollment in case it was a mandatory step). Keep in mind that autopay itself is handled by the billing system and not OpsAdmin. OpsAdmin simply sends the credit card information to the billing system and nothing else.
If the desired credit card is not listed in the Payment Method dropdown, it can be added using the Add New Payment Method at the bottom of the popup.
Payment Method Configuration
To manage the different payment methods, the customer must access the customer profile. Here the customer can add, edit and delete credit cards.
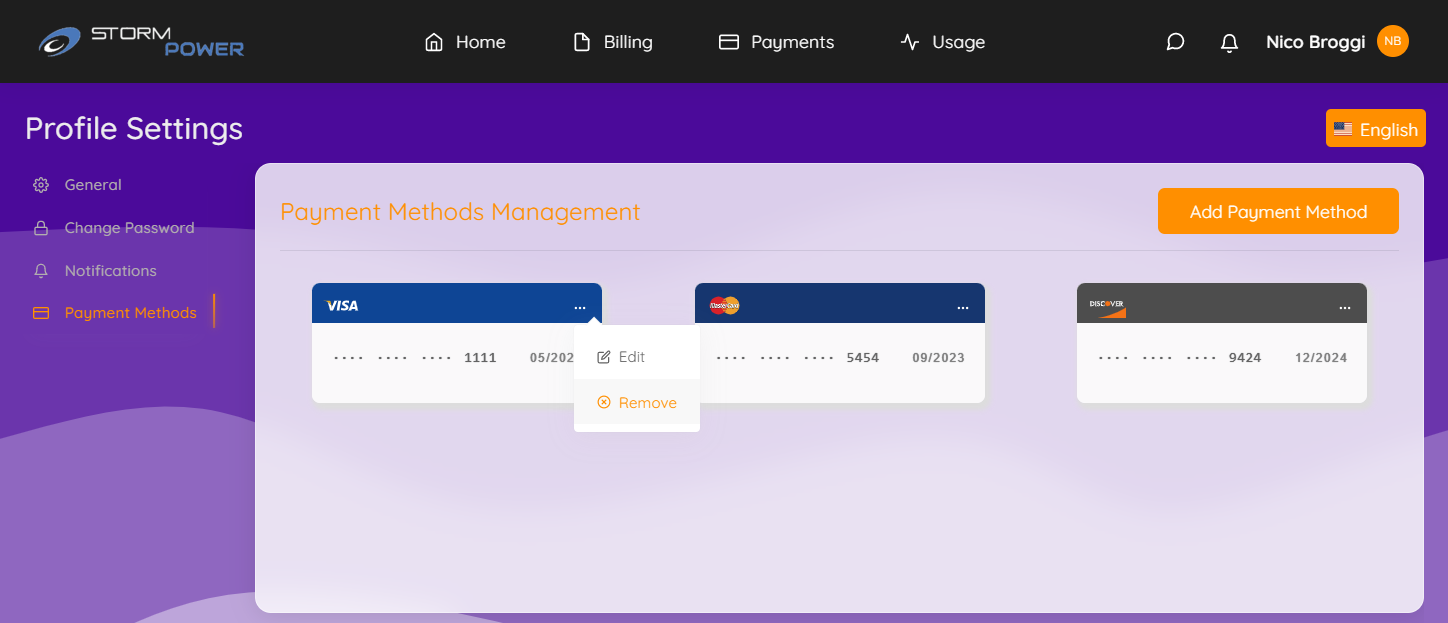
If the customer tries to delete a credit card that is being used for autopay, a message will be shown indicating that the operation is not possible and first the customer must change the credit card used for Autopay.
Link Multiple Accounts
The link multiple accounts feature has been updated to consider the payment information associated with the customer.

When a customer selects this option, they will be requested to input the username and the password of the account to link to.
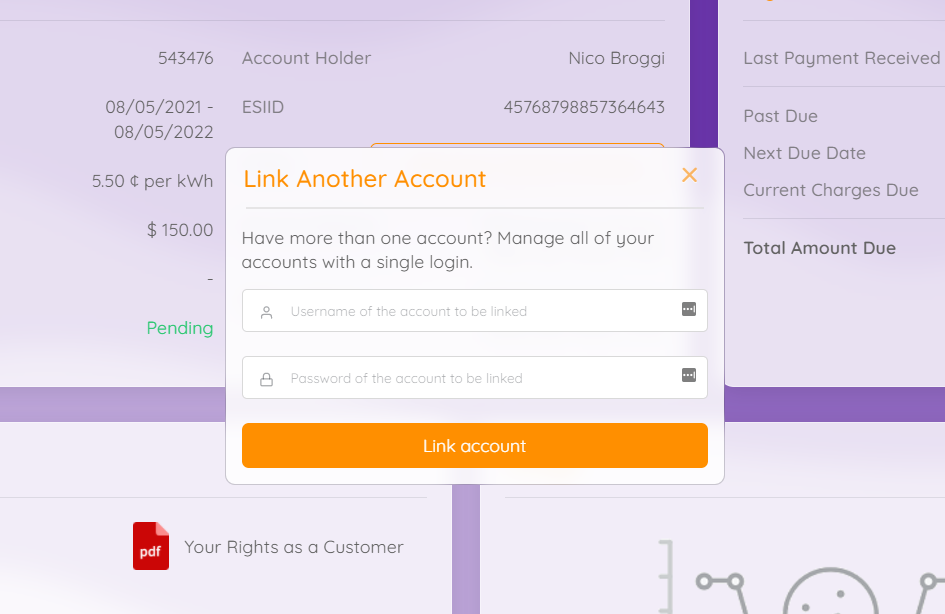
When the accounts are linked, the system updates the following information and runs the indicated processes:
-
The enrollments of the indicated account are associated with the logged user.
-
The indicated customer is marked as inactive.
-
Deletes the payment methods associated with the indicated account and shows a message indicating to manually add them again.
-
If required, it automatically enables recurring billing on the linked enrollments using the existing credit card.
- If no payment method exists in the logged account, the process is canceled and indicates the user to add a new method before trying again.
-
A registry in the database is stored for tracking purposes.